How to tune a PA System? This is one of the most important questions for PA rental companies. Because when you properly tune up your PA system, you can achieve well-balanced and distortion-free audio from your speakers.
At Star Sounds, we know how important the PA tune-up is to get the optimal sound quality. Therefore, we decided to write this comprehensive post to give you a complete guide on tuning a PA system to get excellent sound quality.
7 Easy Steps of How to tune a PA System

Step by Step guide for tuning a PA system
When you are planning a professional musical event, it is important to have a well-balanced and distortion-free PA system. No matter the quality of your PA equipment or their brands. If you do not place them correctly and balance them, you won't be able to gain the optimal sound quality from your PA system.
Whether your event is a DJ performance, live concert, wedding, or any other, this principle applies to them. To achieve the best results for the money you spend, you must hire quality and branded PA systems and balance and place them properly.
When you don't tune your PA system well, your audience and performances will experience distortion and other noises that can have a negative impact on the entire event.
Therefore, this article will discuss the importance of tuning a PA system in 7 easy steps.
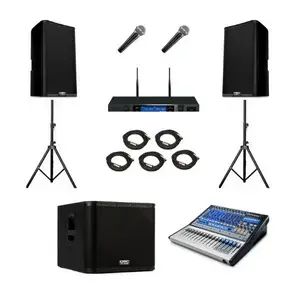
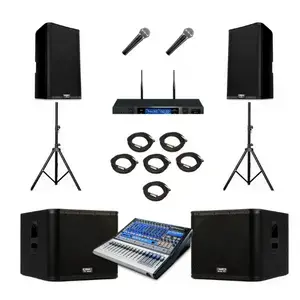
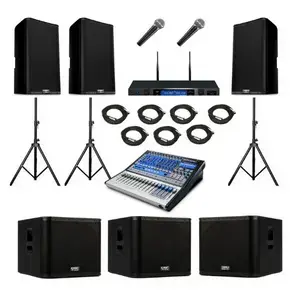
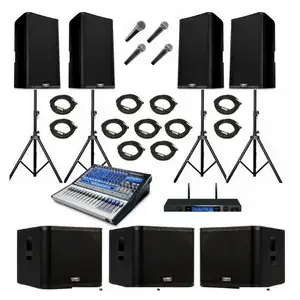
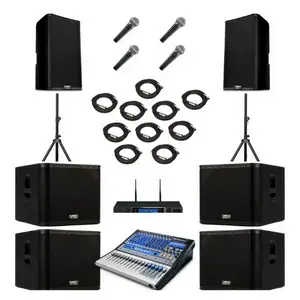
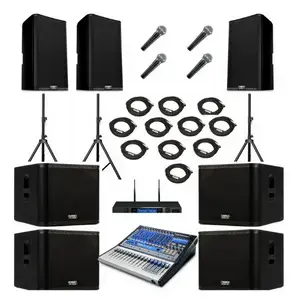
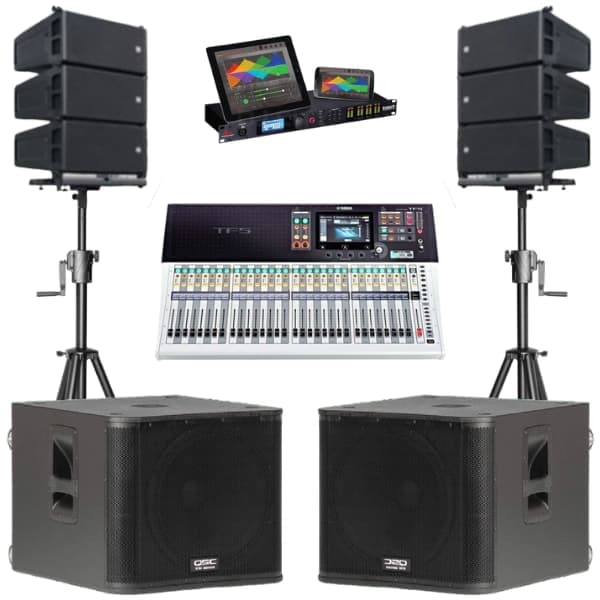
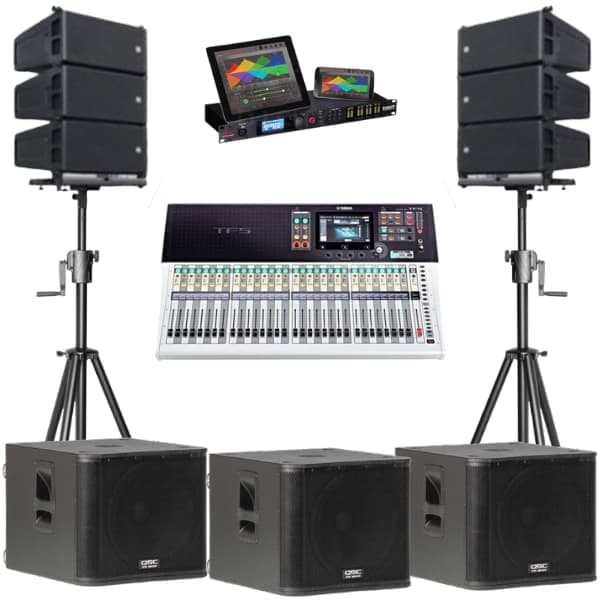
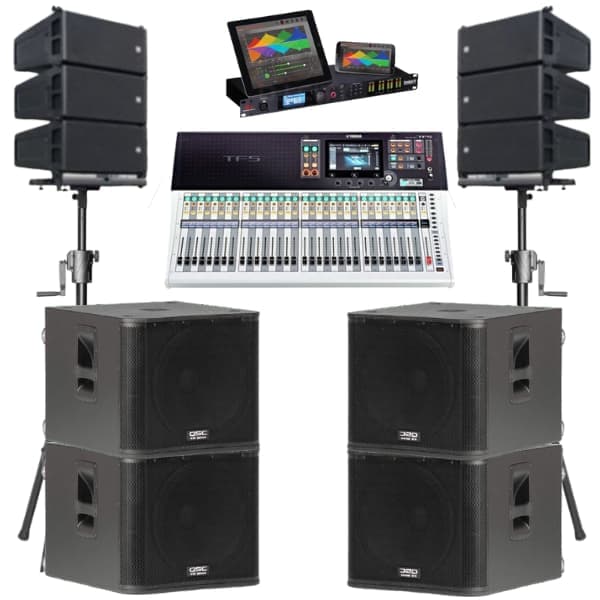
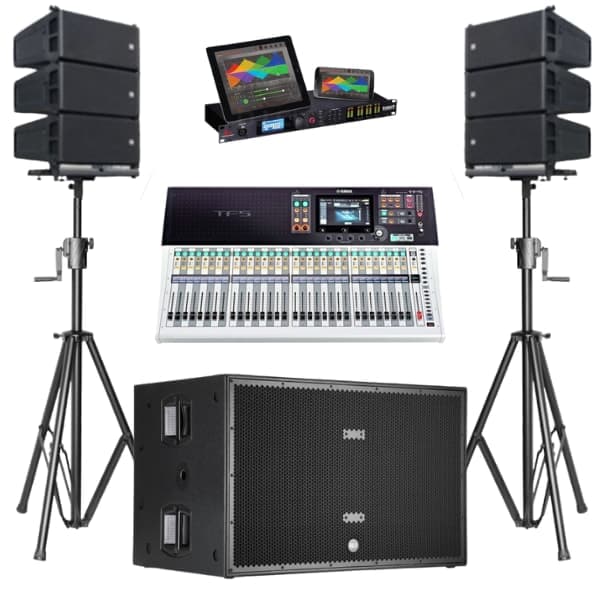
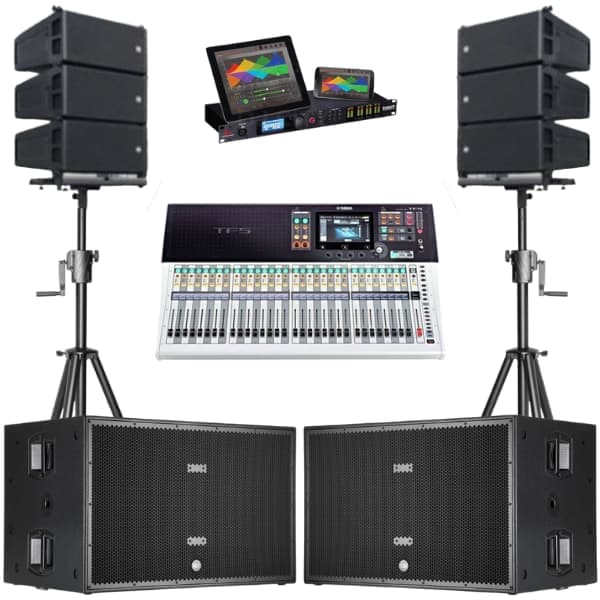
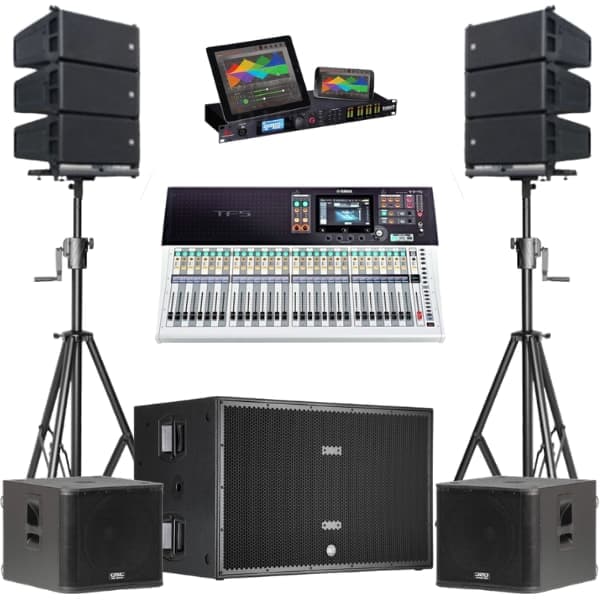
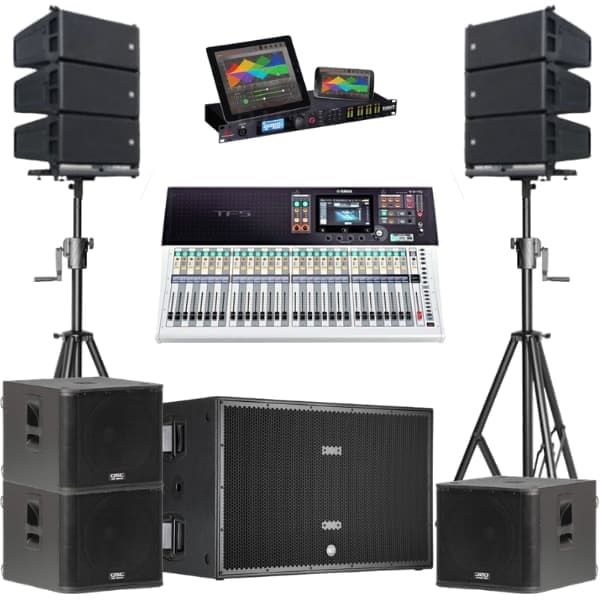
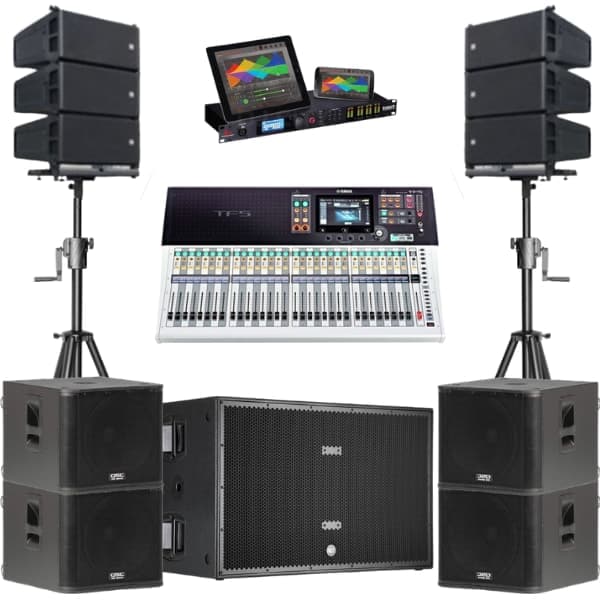
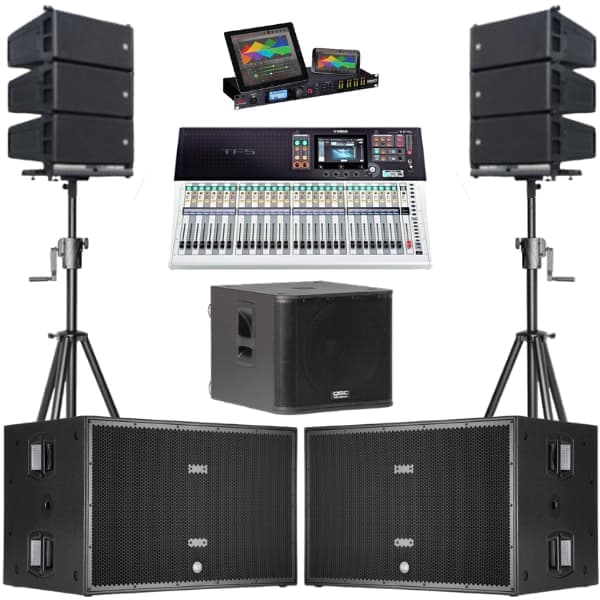
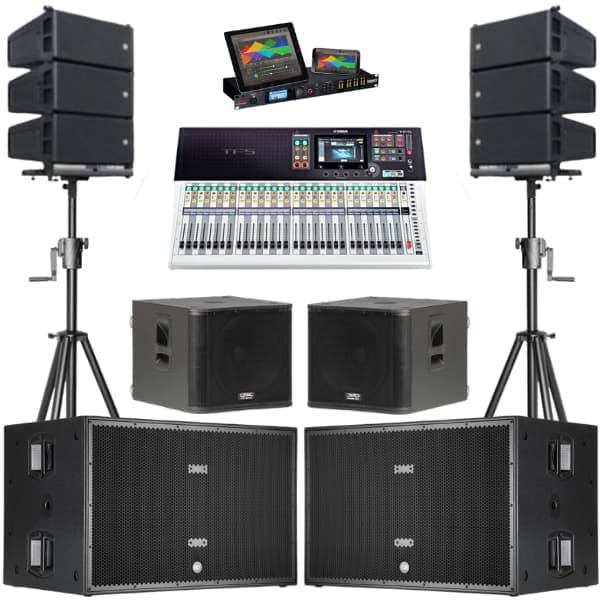
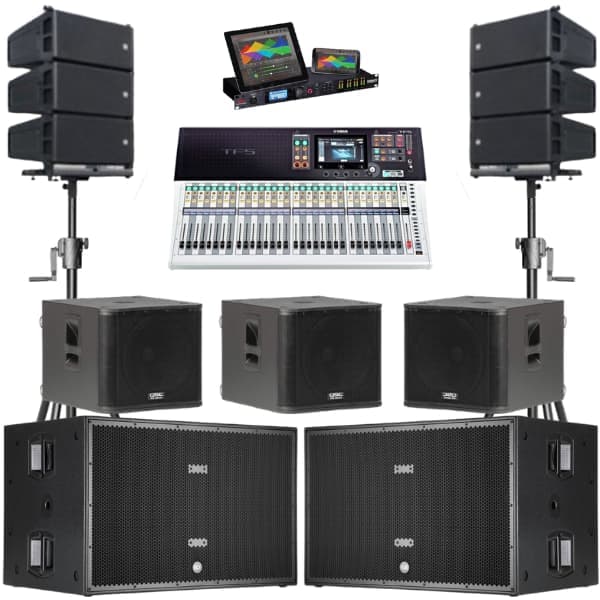
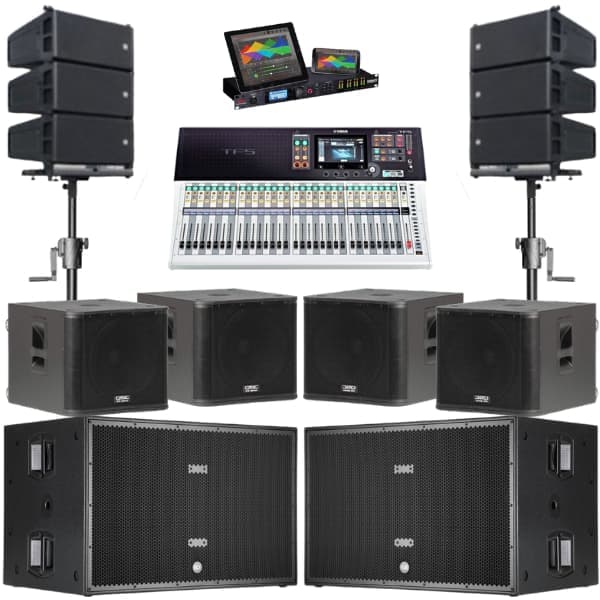
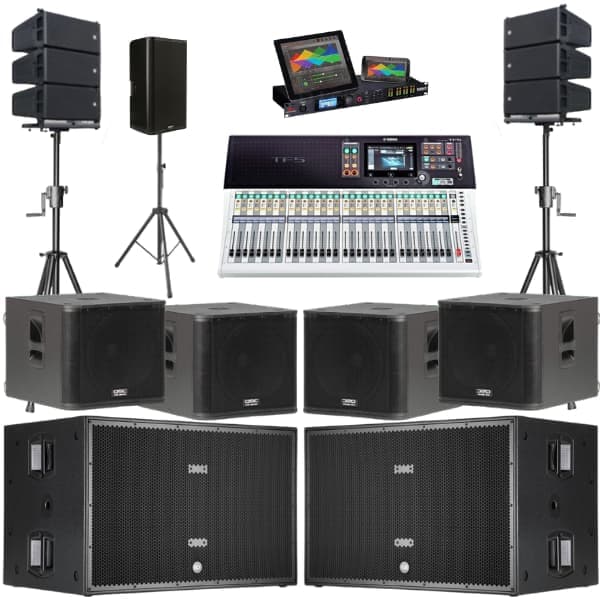
1. Speaker Placement and wiring
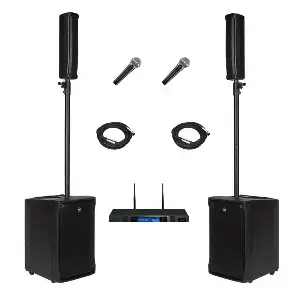
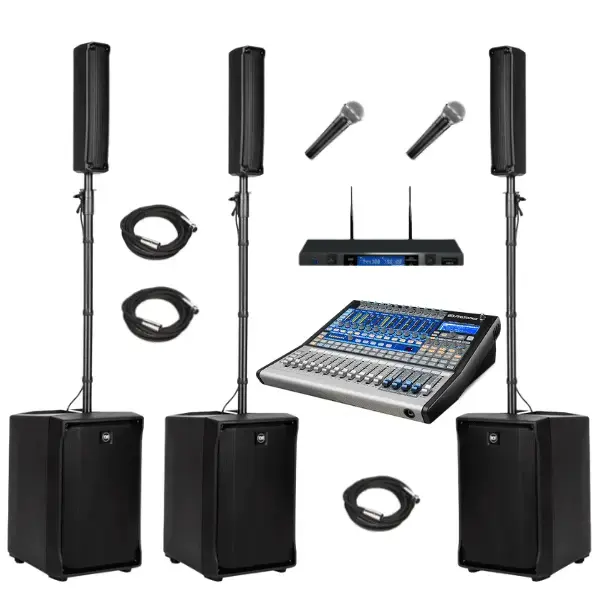
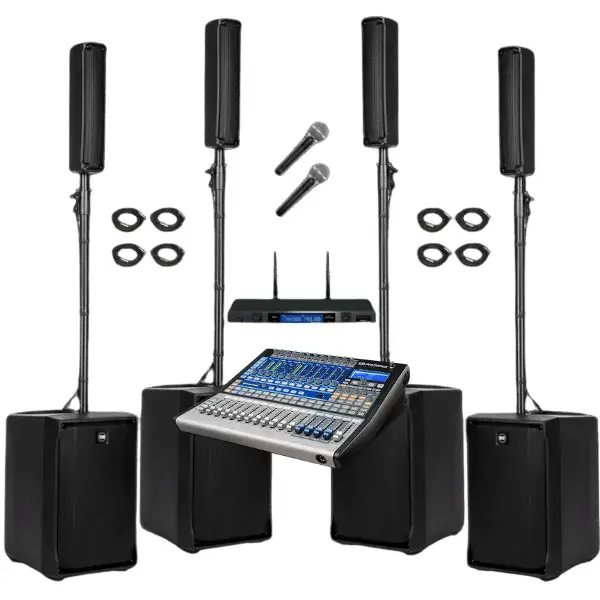
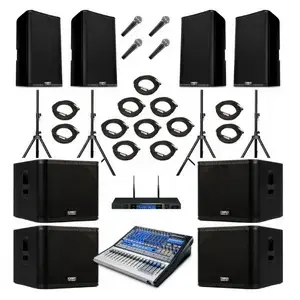
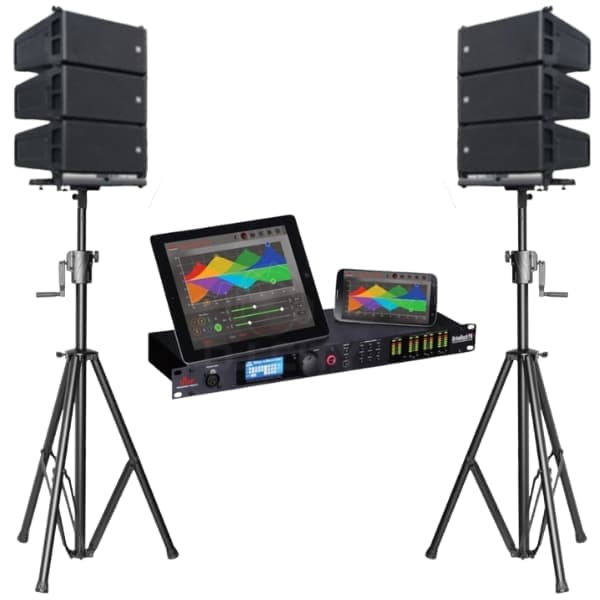
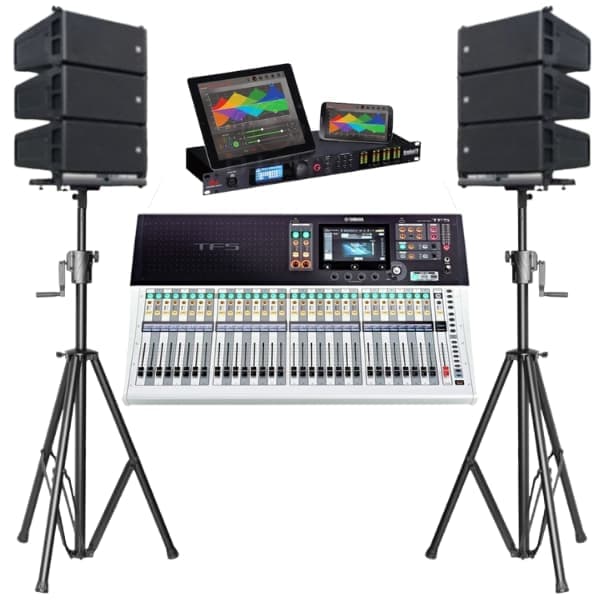
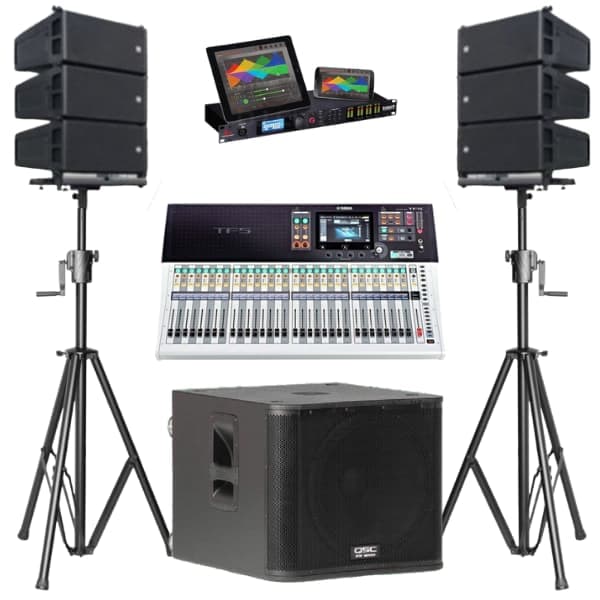
This article uses RCF HDL6 line array speakers as the main left and right speakers and RCF 8006 subwoofers as the main bass bins.
When placing RCF HDL 6 line array speakers, try to place them at the ear level of people. However, if your event is large and has a large audience, then raise them using truss or speaker stands for even sound coverage throughout the space.
Remember to angle line array speakers towards your audience to get the best results. You can also avoid placing them near walls and corners to avoid eco and distortions.
Make sure to use high-quality XLR cables. Always remember to use balanced cables to avoid signal losses and noises. Unbalanced cables are unsuitable for more than 5 meters of distance as they create noise. Also, there are no loose connections in your wiring.
2. Set initial levels in the mixer
When the PA system is placed correctly, the next step is setting the mixer's input levels.
We recommend you start with the master fader. Set it to its moderate level. Then, the input levels of the mixer were set to 0dB level.
At this time, you need to set your speaker input levels at about 30%. This is to reduce any student noise or damage to your speakers. When input comes, you can slowly increase speaker levels to your desired level. However, do not increase them until they clip. This is one of the most important things to note. We will discuss this in detail in the next step.
3. Clipping and Gain adjustments
Clipping occurs when the input signal is too high for the amplifiers. This results in audio distortion. Incorrect gain settings, the amplifier's power, and too much volume about the amplifier's rated power can cause clipping.
When you test the sound, pay attention to the LED lights on the back of the RCF HDL panel clip indicator. If they stay green at the required volume, there's no issue. However, if they turn RED, you must reduce the mixer's gain or speaker volume.
Clipping can negatively affect the quality and equipment of your entire PA system. It can give you distorted sound. Moreover, it can damage your speakers and amplifiers.
4. Proper EQ adjustments
At this stage, you have properly placed your PA system and done the initial settings, including gain settings and clipping monitoring. Now, it's time to adjust the EQ for clear sound.
Generally, we can divide the EQ section into three categories, like Low, Mid, and High frequencies.
- Low frequencies: If your PA system has poor low-end or bass response, slowly increase the low section in your EQ. If the bass is muddy or too high, slowly decrease it until you hear a clear low end.
- Mid frequencies: Most instruments and vocals are in this range. So, carefully adjusting it lets you get clear vocals and instrument sounds. However, make sure when adjusting, it doesn't affect too much for your low and high frequency ranges.
- High frequencies: If you notice that your PA system is lacking or there are too many treble, then adjust the high-frequency range until you hear a balanced and clear sound.
5. Feedback and room acoustics
- Feedback
Feedback is one of the most common issues when setting and tuning up a PA system. Feedback occurs when your microphones picks up sound from nearby speakers. Therefore, make sure you place your microphones properly, and that there's enough space and distance between microphones and speakers. You can also use feedback impressions like DBX Drive Pack PA2 to reduce feedback automatically.
- Room acoustics
If the venue is large, you might experience muddiness in bass response due to too many low frequencies. On the other hand, if the venue is small, you might need to increase the frequencies a bit to get the desired sound quality.
6. Listening and fine-tuning
When you properly place all speakers, subwoofers, and monitors and set all the levels in the mixer correctly, then it's time to do fine-tuning. We recommend you play normal music where you can hear full-range sound covering low, mid, and high.
Pay attention to any distortion, muddiness, or harshness. Move around the venue and try to find dead spots or any other areas where sound doesn't reach. Try adjusting EQ or speaker placement until you feel fully confident.
7. Monitor the PA system throughout the event
When the event starts, do not think that your job is over. As a sound engineer, you must continuously monitor them for issues such as clipping, feedback, noises, and distortions.
If you have subwoofers and speakers that cool down with built-in fans, pay attention to the fans one to two times during the event, mostly in the middle and at the end. Make sure those cooling fans are working properly.
Related posts:
Lighting System Hire in Auckland
RCF 8004 Subwoofer Hire in Auckland
RCF HDL10 Line Array Hire
How to Set Up a Wedding PA System
How to Do a Good Sound Balance in Live PA
QSC K118 Subwoofer Hire
Hire DJ Sound System in Auckland
How to Set Up Different Brand Subwoofers in a Live Sound Setup
In-Ear Monitor Hire in Auckland
Allen & Heath SQ5 Mixer Hire
Top 5 Benefits of Hiring a PA System
Dual 18 Subwoofer Hire in Auckland
Subwoofer Cardioid Setup
Sound System rentals in Auckland
Subwoofer Placement in Live Events
RCF HDL6 and RCF 8006 AS
Affordable PA Rental in Auckland
Perfect Vocal EQ settings
Power Distributions for PA systems
Passive Speakers vs Active Speakers
Table of Contents
Toggle